If you’re running a turbocharged or supercharged vehicle, understanding how to check for boost leaks is critical to maintaining optimal engine performance. A boost leak is a subtle yet serious issue that can lead to noticeable power loss, poor fuel economy, and, over time, engine damage. The issue is straightforward: when pressurized air escapes somewhere within your turbo or supercharger system, it disrupts the car’s performance. This leak prevents the engine from receiving the proper volume of compressed air, resulting in less fuel and a lack of power.
Boost leaks are not always easy to spot without the proper diagnostic tools, and even experienced mechanics sometimes miss them. Without the right knowledge, your car may feel sluggish, inefficient, or even misfire, but a small boost leak could be the underlying cause. Addressing boost leaks early can ensure your vehicle runs at optimal efficiency and extend the life of your engine.
In this post, we’ll guide you through the process of checking for boost leaks like a professional mechanic. We will cover the tools you need, the symptoms to watch out for, and the steps involved in diagnosing and fixing boost leaks.
What Exactly Is a Boost Leak?
Before jumping into testing for boost leaks, it’s essential to fully understand what they are and how they affect your engine. A boost leak is a failure in the intake system that allows compressed air to escape, preventing the engine from receiving the proper amount of air necessary for combustion. Turbocharged and supercharged systems generate pressurized air to enhance engine performance. When the intake system isn’t sealed correctly, the air doesn’t reach the combustion chamber as expected, leading to a variety of performance issues.
Boost leaks can occur at various points in the intake system, such as:
- Intercoolers: Cracks or loose connections in intercoolers can lead to boost loss.
- Turbocharger piping: Misaligned, loose, or cracked piping can cause a leak.
- Throttle body seals: Over time, throttle body seals can wear out or crack.
- Boost control solenoids: Faulty solenoids can lead to leaks.
- Hoses and clamps: Rubber hoses and clamps can become brittle and crack, especially after years of use.
Boost leaks affect the air-fuel ratio and, if left unaddressed, can cause engine knock, misfires, and even long-term engine damage.
 Symptoms of a Boost Leak
 Symptoms of a Boost Leak
There are several symptoms you may experience if your car has a boost leak. If you notice any of these, it’s time to check for leaks:
1. Loss of Power or Hesitation
The most noticeable symptom of a boost leak is loss of power. Turbocharged engines rely on pressurized air to produce additional horsepower. If the system can’t maintain boost pressure, your car may feel sluggish, lack acceleration, or hesitate under heavy throttle.
2. Poor Fuel Economy
If your engine is unable to achieve the correct air-to-fuel ratio due to a boost leak, it may start consuming more fuel to make up for the lack of air, leading to higher fuel consumption. This is one of the easiest indicators that something may be wrong with your turbo or supercharger system.
3. Check Engine Light (CEL)
If a significant boost leak occurs, it may trigger a check engine light. The vehicle’s ECU detects underperformance and may store diagnostic trouble codes such as P0299 (Turbocharger/Supercharger Underboost) or similar codes related to the intake or boost system.
4. Unusual Noises
A hissing sound coming from the engine bay or intake system is a clear sign of a boost leak. This sound occurs when air is escaping from the pipes or hoses in the intake system.
5. Rough Idle or Misfire
If the leak is substantial, the engine’s idle may become rough or unstable. The disruption in the air-fuel mixture can cause misfires, especially during low-speed driving or idle.
Essential Tools for Checking for Boost Leaks
 Essential Tools for Checking for Boost Leaks
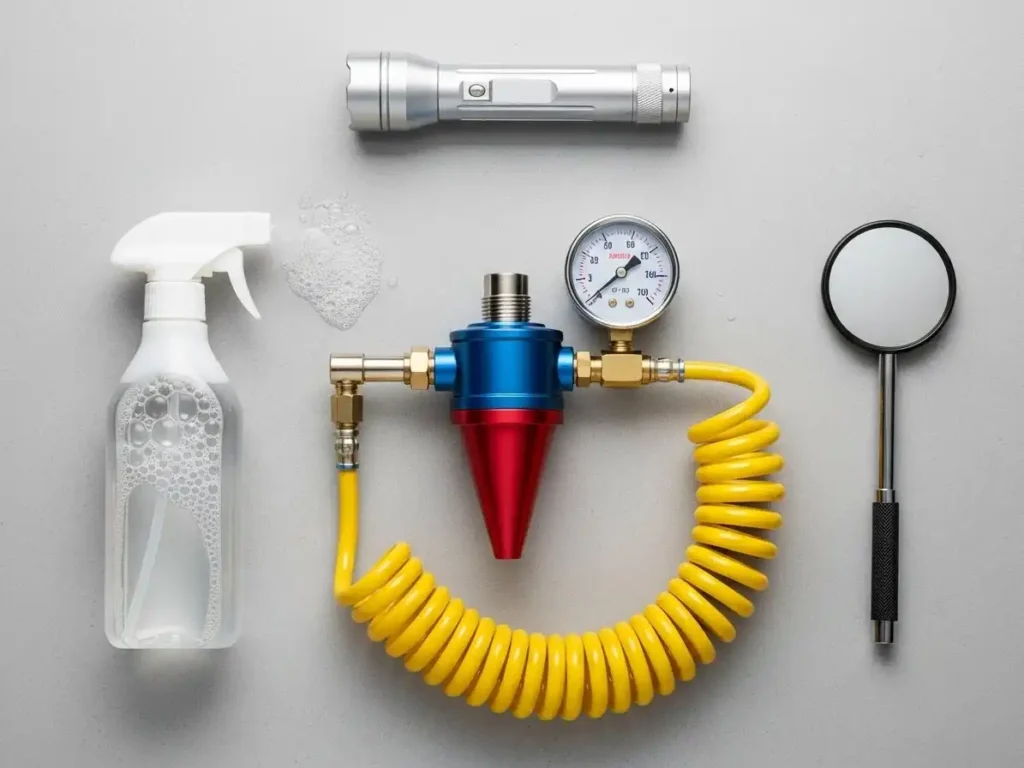
To effectively detect boost leaks, you’ll need the right tools for the job. Here’s a list of the essential tools required for boost leak testing:
1. Boost Leak Tester
A boost leak tester is a device used to inject compressed air into the intake system. It allows you to pressurize the system and detect leaks. There are commercially available testers, or you can build one yourself using a rubber plug, pressure gauge, and some PVC piping.
2. Compressed Air Source
A reliable air compressor is required to inject compressed air into the intake system. The compressor needs to provide enough pressure, typically in the range of 10-20 psi, to simulate the pressure your system would see under normal operation.
3. Soap Solution
A simple soap and water mixture is a tried-and-true method for spotting leaks. When you spray this solution over the intake connections, any escaping air will create bubbles, revealing the leak’s location.
4. Flashlight and Mirror
To inspect difficult-to-reach spots, a flashlight and mirror are essential tools. These allow you to visually inspect pipe connections, intercoolers, and other components, especially under the vehicle.
5. Vacuum Leak Smoke Machine (Optional)
Some professionals use a vacuum leak smoke machine for detecting leaks in complex systems. The machine pumps smoke into the system, and any escaping smoke indicates a leak. This tool is especially useful for locating leaks in hard-to-reach areas.
Step-by-Step Guide to Checking for Boost Leaks
 Step-by-Step Guide to Checking for Boost Leaks
Now that you have the tools, let’s walk through a detailed process on how to check for boost leaks like a pro. Follow these steps to accurately diagnose boost leaks in your car.
Step 1: Preparation
Start by ensuring the vehicle is parked in a safe location, the engine is cool, and the ignition is off. Disconnect the vehicle’s battery to avoid electrical hazards while working on the intake system. Allow time for the turbocharger or supercharger to cool before starting the process.
Step 2: Seal the Intake System
To perform an effective boost leak test, you need to seal off the intake system. The best way to do this is by using a boost leak tester. Attach the tester to the intake system, usually where the air filter would connect. If you don’t have a tester, you can use a rubber plug to seal the intake pipe securely.
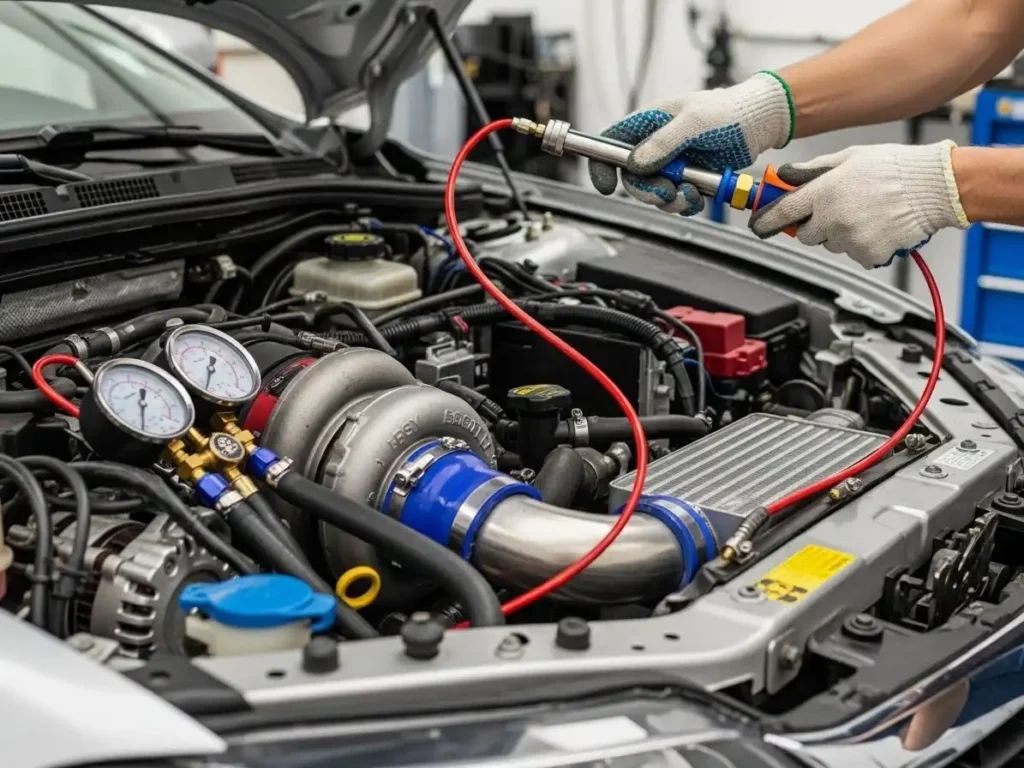
Step 3: Apply Compressed Air
Connect your air compressor to the boost leak tester. Gradually apply compressed air to pressurize the intake system. Start with a lower pressure (around 10 psi) and increase it if needed. The goal is to replicate the boost pressure your turbo or supercharger would generate during normal operation.
Step 4: Listen for Leaks
Once the system is pressurized, carefully listen for any hissing noises. These sounds indicate that air is escaping from a specific point in the system. Focus your attention on areas where hoses, clamps, and pipes meet, as these are common spots for leaks.
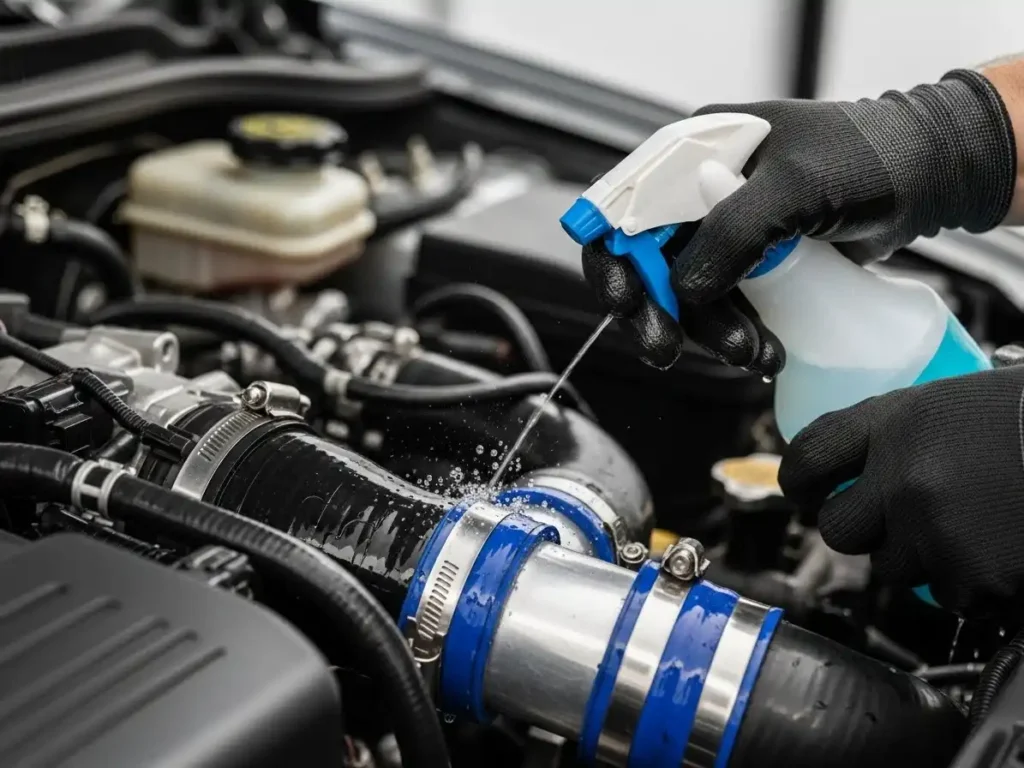
Step 5: Use Soap Solution to Spot Leaks
Now that the system is under pressure, apply your soap solution to all the connections, including:
- Hoses and clamps
- Intercoolers
- Throttle body and intake manifold connections
- Boost solenoid areas
If you see bubbles forming, you’ve found the leak. The soap solution is highly effective in detecting even small leaks.
Step 6: Inspect With Flashlight and Mirror
For hard-to-reach areas, use a flashlight and mirror to thoroughly inspect all the intake components. This step is especially useful for checking underneath pipes or behind the intercooler where leaks can sometimes be hidden.
Step 7: Document and Fix Leaks
Once you’ve identified the leaks, note their locations. Leaks are often found in areas such as cracked hoses, loose clamps, damaged intercoolers, or worn-out gaskets. Depending on the severity of the leak, you may need to:
- Replace cracked or brittle hoses with high-quality silicone hoses.
- Tighten loose clamps or replace them if they’re worn out.
- Repair or replace cracked intercoolers.
- Replace faulty gaskets or seals.
How to Fix Common Boost Leaks
After identifying a boost leak, it’s important to know how to fix it. Here are the most common issues and how to resolve them:
1. Cracked or Worn Hoses
Hoses made of rubber or silicone can crack or deteriorate over time, especially under the heat and pressure of a turbocharged system. Replace any cracked or damaged hoses with high-quality silicone hoses that are rated for high pressure and heat resistance.
2. Loose Clamps
Loose or improperly tightened clamps can cause boost leaks. Tighten all clamps to the proper torque specification, but avoid overtightening, as this can damage the hose or the fitting. If the clamps are old or corroded, replace them with new ones.
3. Damaged Intercoolers
Intercoolers can develop cracks, especially in older vehicles or those subjected to heavy use. If you find a crack in your intercooler, you can either replace the unit entirely or have it professionally repaired (by welding or re-sealing it).
4. Faulty Throttle Body Gaskets
Throttle body gaskets can wear out over time, leading to air leaks. If you find a damaged gasket, replace it with a new, high-quality seal to restore the system’s integrity.
Conclusion — Keep Your Engine in Peak Performance
Detecting and fixing boost leaks is essential for maintaining a turbocharged or supercharged engine. Regular boost leak testing ensures that your car’s performance, fuel efficiency, and reliability are maximized. Whether you are a seasoned professional or a weekend warrior, checking for boost leaks regularly is a simple and effective way to keep your engine running at its best.
Don’t ignore symptoms like power loss, poor fuel economy, or unusual noises. With the proper tools and knowledge, you can check for boost leaks like a pro and keep your vehicle in top shape for years to come.